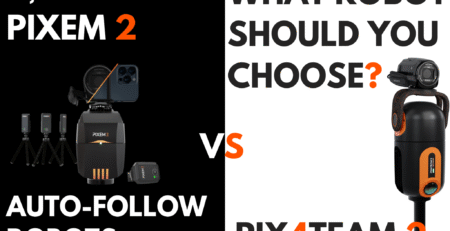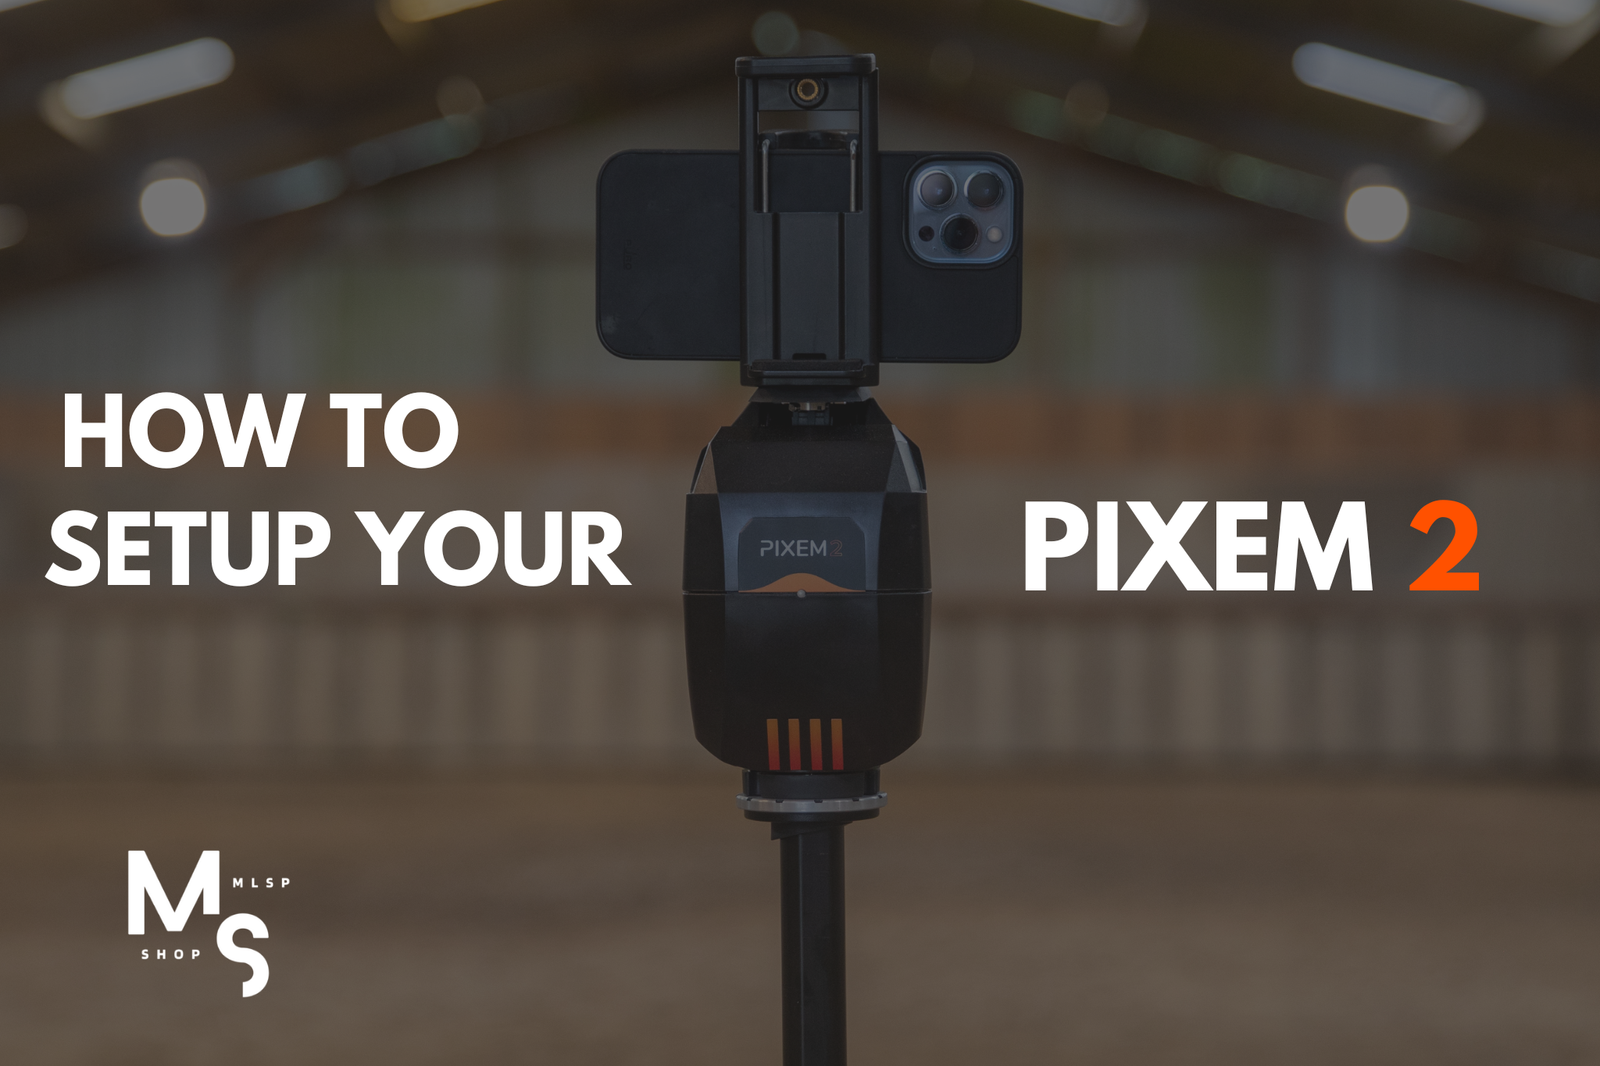
How to Set Up and Use Your Pixem 2 Auto-Follow System
Why use Pixem 2?
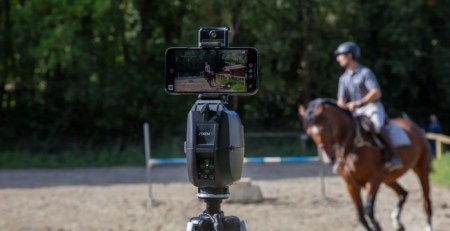
The Pixem 2 gives athletes and performers freedom to record professional‑quality video without a camera operator. If you’ve been wondering how to set up and use your Pixem 2 auto‑follow camera, this guide will help. Its radio‑based tracking system keeps you in frame even when multiple people are nearby. With a range of 330 ft (100 m) and smooth 360° pan speeds up to 120 °/s, the robot follows your movements indoors or outdoors.
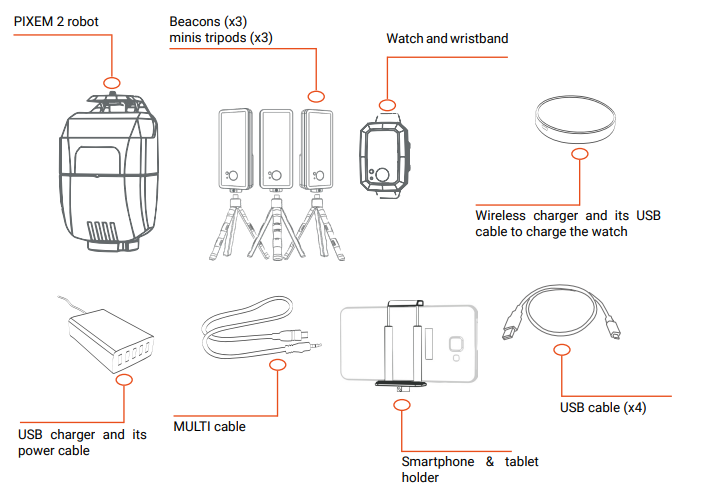
What’s in the box
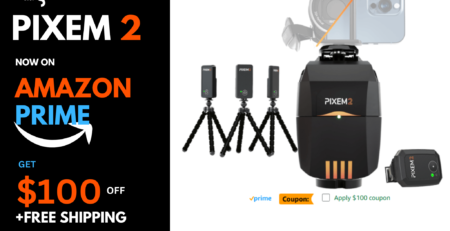
Before you start, make sure you have all the included components:
- Pixem 2 robot, follow‑watch and silicone wristband
- Three mini‑beacons with flexible tripods
- Smartphone/tablet holder and multi‑cable for Sony cameras
- Chargers for the robot, watch and beacons; the watch charges wirelessly
- Tripod (Optional)
Download the User Manual here (PDF)
Step 1 – Position the beacons
- Mark your filming area. Place the three beacons around your playing area or stage at equal distances, ideally 1–2 m high.
- Turn on the beacons while setting them up. (Beacon 1 Front, Beacon 2 Left from Robot, Beacon 3 right from Robot) The beacons communicate with the Watch and robot to calculate your position up to 10 times per second.
- Ensure clear line of sight. Avoid obstacles between the beacons and the robot for optimal tracking.
Step 2 – Turn on Robot and Connect via Bluetooth
- Once the beacons are properly positioned and turned on, switch on your PIXEM 2 robot by pressing the power button for 2 seconds.
- Then, open the PIXEM CAMERA app on your smartphone or tablet.
- Once the app connects to the robot:
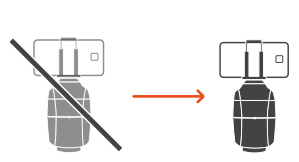
- Use the Turn Left/Right buttons or rotate the tripod to align beacon #1 in the center of your screen.
- On the app interface, slide the zoom level (top slider) all the way in to set the correct framing reference.
- Then, select your desired frame width using the lower slider (e.g., 4 m on each side). The Pixem 2 will automatically maintain this frame size as you move.
- Finally, get on your horse and wear the PIXEM watch securely—on your wrist, belt, or another stable location.
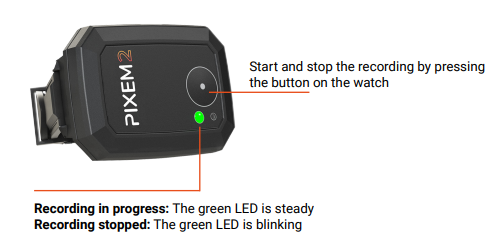
- Once the green LED on the watch starts blinking steadily, tracking begins automatically.
Step 3 – Start tracking
- Turn on your watch by pressing the button until the green LED begins to blink.
The initialization will take about 10 to 30 seconds. - When the green LED blinks steadily (regularly), your Pixem 2 is ready to begin tracking and recording.
Step 4 – Start recording
- Check battery status. The robot runs for about 4 hours on its battery while the watch and beacons run for roughly 3 hours each. For longer sessions, connect them to power; the robot and beacons can be plugged into a Power-Bank.
- Begin your session. Start recording with a single button press on the watch. The Robot pans smoothly and zooms automatically while you perform, train or present.
- Stop recording and review. When you’re done, stop the recording via the watch. You can then review your footage on the device or share it using your preferred platform. Live streaming is built‑in and subscription‑free.
Tips for best results
- Use indoors or outdoors with confidence
- Pixem 2 is designed to perform reliably in both indoor and outdoor environments. The system handles varying light conditions and space layouts well, as long as the beacon placement follows basic guidelines.
- Keep all devices fully charged or use external power
- The robot, beacons, and watch each offer around 3–4 hours of runtime. For longer filming sessions, connect devices to external power banks or wall outlets. This is especially helpful for events or extended practices.
- Stay within the 100-meter (330 ft) tracking range
- Always place the robot and beacons within 100 meters of each other. Avoid placing them directly on the ground—elevate them 1–2 meters (3–6 ft) for better signal reception and accuracy.
- Use the app sliders to fine-tune your framing
- In the PIXEM CAMERA app, the top slider sets the zoom level, while the bottom slider defines how wide or narrow your frame should be. Once set, Pixem 2 will maintain this framing as you move.
- Optimize beacon placement for smoother tracking
- Place Beacon 1 as far from the robot as your space allows (within range). Beacon 2 should be to the left of Beacon 1 when standing behind the robot. Beacon 3 can go on either side. Ensure direct line of sight between all devices and keep them away from metal surfaces or strong electronic interference.
- Start with the correct zoom level
- Before selecting your frame size, zoom in fully using the top slider. This helps ensure that Pixem 2 sets the correct reference frame when it begins tracking.
- Use multi-user mode for larger training spaces
- For team training or multiple performers, the multi-user feature allows you to track multiple watches with multiple robots. This ensures full coverage of wide or complex spaces.
- Enable remote coaching for real-time feedback
- Activate the remote coaching feature so your coach can watch the session live via the PIXEM CAMERA app or computer setup. Combine this with a headset or CEECOACH device for two-way communication during live practice.
- Avoid interference and blocked lines of sight
- Keep all equipment at least 30 cm (1 ft) away from mirrors, metal surfaces, or large electronics. Even partial obstructions can reduce accuracy or cause drift in tracking.
- Double-check Beacon 1 framing before tracking
- Before starting your session, make sure Beacon 1 is centered in your camera’s frame. This ensures Pixem 2 calculates positions correctly and doesn’t rotate off-course during filming.
- Look at our Live Coaching Pack
Conclusion
With its beacon‑based tracking and intuitive watch, Pixem 2 enables anyone to capture professional‑quality video without a cameraman. By following these setup steps and tips, you’ll be ready to film training sessions, performances or presentations with ease. Ready to get started? Order your Pixem 2 today.